The good news? Embedding a Rise course is way easier than you think. You don’t need to be a coder or some web genius, you just need the right steps. By the end of this guide, you’ll know exactly how to publish, upload, and embed Rise courses so your learners can access them smoothly.
Why Embed Articulate Rise Into a Website?
Here’s the thing: sending learners a raw Rise link works, but embedding it into your website looks way more professional.
Brand consistency – The course looks like part of your site, not an external link.
Better control – You decide how it’s displayed (inside a page, in a learning portal, or behind login access).
Improved experience – No extra clicks, no confusion, just seamless learning.
Think about it. If you run a training blog, e-learning portal, or even internal staff site, embedding keeps everything in one place.
Understanding Articulate Rise Publishing Options
Before embedding, you need to know how Rise gives you content. When you finish a course in Rise, you can publish it in a few different ways:
Web Export
Produces a folder with HTML, JavaScript, and assets.
Perfect for embedding on WordPress, static sites, or intranets.
LMS Export (SCORM, xAPI, AICC)
For learning management systems that track progress.
If you’re using Moodle, TalentLMS, or Blackboard, this is your option.
Share Link
Quick and dirty option.
Gives you a Rise-hosted URL, but not ideal for branding.
For embedding into your own site, Web Export is the way to go.
Step 1: Publish Your Rise Course for Web
Inside Articulate Rise:
Open your course.
Click Export.
Choose Web as the export option.
Select settings (like including an offline version or not).
Download the ZIP file to your computer.
When you unzip, you’ll see something like this:
The index.html file is the main one we’ll embed.
Step 2: Upload Files to Your Website
This is where most people panic, but relax, it’s just about moving files.
For WordPress Sites
Use a file manager plugin (like File Manager or your hosting cPanel).
Upload the unzipped Rise folder into
wp-content/uploads/or a custom directory.Make note of the URL to
index.html. (e.g.,https://yourdomain.com/wp-content/uploads/rise-course/index.html)
For Static HTML Websites
Use FTP or your hosting file manager.
Drop the Rise folder inside your website root or a subfolder.
Example:
https://yourdomain.com/rise-course/index.html
For SharePoint
Upload the Rise folder into your Site Assets or Document Library.
Make sure permissions allow people to view it.
Done! Now we just need to embed it.
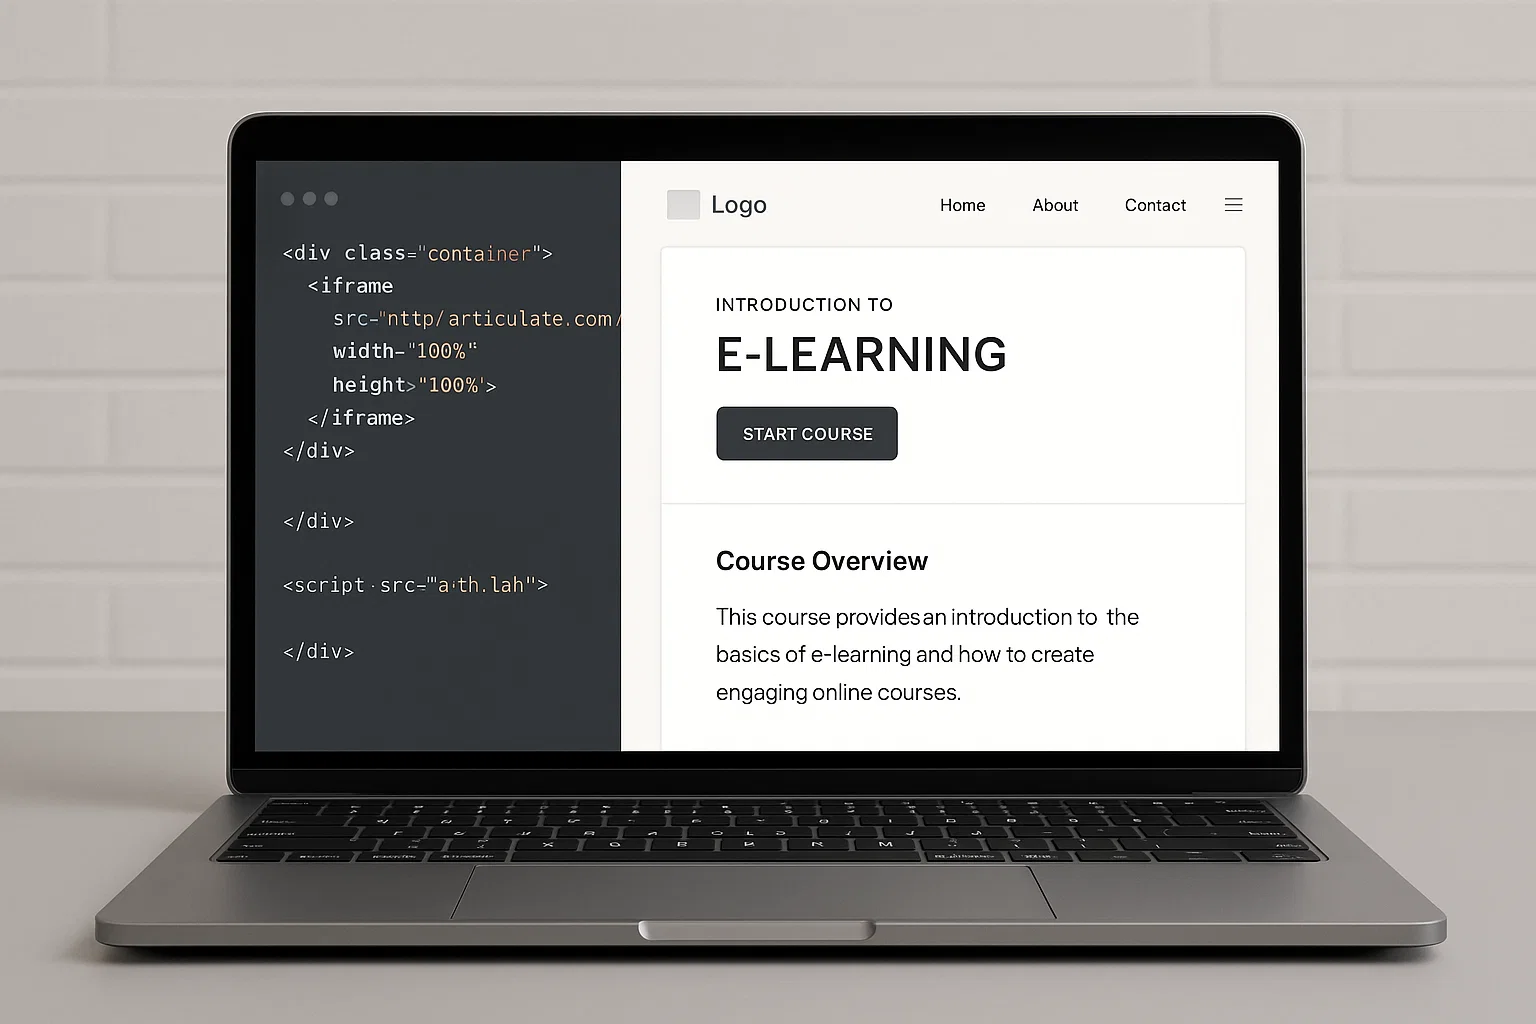
Step 3: Embed Rise Course Using iFrame
This is the magic trick. Once your Rise course is uploaded, you’ll embed it in a page using an iFrame.
Here’s the basic code:
src – link to your course’s
index.htmlwidth – set to
100%for responsive displayheight – adjust based on design (600–800px is common)
allowfullscreen – lets learners expand to full screen
Embedding Rise in WordPress
If you’re running WordPress (like most of us do), you have two easy methods:
Method 1: Block Editor
Open the page or post.
Add a Custom HTML block.
Paste the iFrame code.
Save and preview.
Method 2: Shortcode Plugin
Install a plugin like Shortcoder.
Create a shortcode with your iFrame code.
Use
[rise-course]inside posts/pages.
Bonus: Responsive Fix
If your iFrame looks squashed, wrap it in CSS:
This keeps your course mobile-friendly.
Embedding Rise in SharePoint or Other Platforms
On SharePoint, embedding is slightly trickier:
Go to your page.
Add a Embed Web Part.
Paste the iFrame code.
Save and publish.
Tip: SharePoint often blocks external content. If your course doesn’t load, check with your IT team about Trusted Domains.
For other platforms (like Wix, Squarespace, or Joomla), they all have an embed widget. Just drop the same iFrame code.
Troubleshooting Common Errors
Things don’t always go smoothly. Here are common issues:
Course doesn’t load → Check that the
index.htmlURL is correct and your files are in the right folder.Blank screen or black box → Might be a CORS (Cross-Origin Resource Sharing) issue. Make sure you’re hosting files on the same domain as your site.
Permission denied → In SharePoint or intranets, adjust user access.
HTTPS issues → If your site uses HTTPS, your Rise course must also load over HTTPS.
Extra Tips for Smooth Integration
Want your Rise courses to look pro? Try these:
Customise the container – Use CSS to match your site’s colours.
Add navigation buttons – Place a “Back to Homepage” button under the iFrame.
Think about SEO – Search engines can’t read Rise content, so add a written summary under your embed.
Test on devices – Always check mobile, tablet, and desktop views.
Final Thoughts
Embedding Articulate Rise into your website isn’t rocket science. Once you publish for web, upload the files, and use a simple iFrame, your course is live. Whether it’s on WordPress, SharePoint, or a plain HTML page, the process is almost the same.
The big takeaway? Don’t overcomplicate it. Keep your embeds clean, responsive, and user-friendly. Your learners will thank you, and you’ll look like a pro without touching heavy code.

Chris Digital, tech enthusiast and digital marketer, shares insights on WordPress, SEO, Adsense, online earning, and the latest in graphics and themes.